- March 10, 2020
- Amy Glancy, Account Executive, Public Sector

The Ribbon helps you find commands quickly and easily and it comes with Foxit PhantomPDF, ready to use as-is. If you want to be even more productive with the software, however, PhantomPDF lets you customize the Ribbon almost any way you want. Create custom tabs or groups with your favorite commands so you and other users can find them faster and work more efficiently. Let’s take a look.
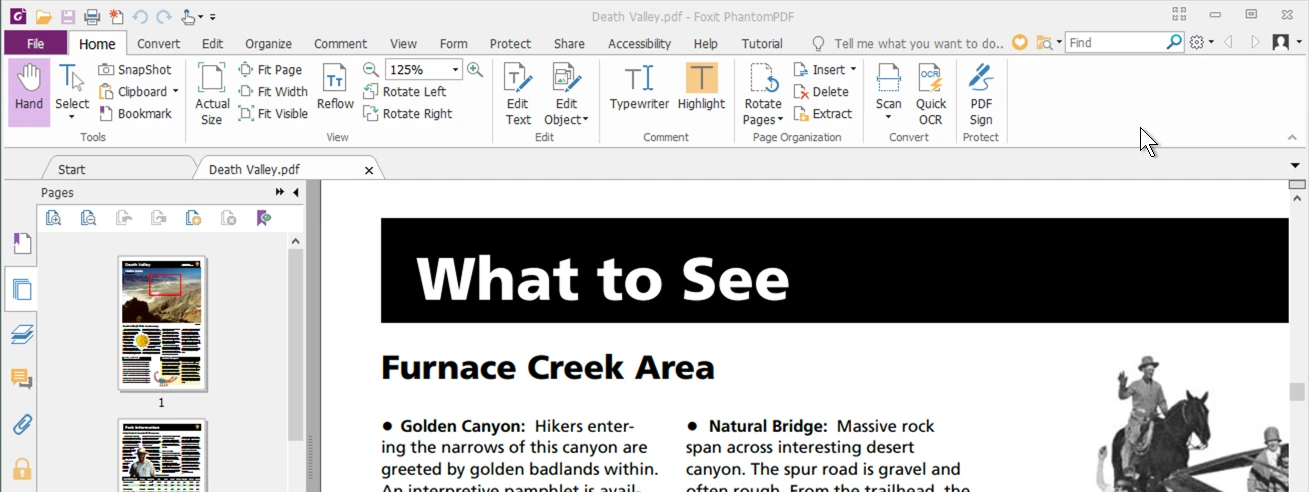
First, this is the Ribbon that comes with PhantomPDF. As you can see, much like the Ribbon in your favorite Microsoft Office products, most of the commands users access most often are already there, grouped in tabs to keep them organized.
Let’s say, however, that you work for ACME Law Offices and you want to customize the Ribbon and create an “ACME Law Tools” tab with all the tools your employees work with the most. It might end up looking like this.

At ACME Law, you use iManage as your Document Management Solution so you’ve made sure that your employees can access iManage from the Quick Access toolbar as well as the Ribbon.
Your firm also relies on OCR, because it enables the legions of scanned paper documents you have to be easily edited and searched, so you’ve put the OCR feature prominently in the Ribbon.
You’ve added Bates Numbering because your firm, like so many others, uses Bates numbering during the discovery phase of litigation, when documents need to be referenced and shared.
You’ve grouped Highlight, Callout and Stamp together in the Markup section because ACME Law uses these features often when commenting on, sharing and approving documents.
And, of course, Redaction and Security features such as Sign, Certify and Whiteout are available for anyone who needs to remove sensitive information permanently and sign legal documents.
What’s more, you’ve rearranged all the major categories in the Ribbon to organize them in a way that’s more logical for your firm. That’s why the Form section is to the right of the ACME Law tab, instead of in the middle of the Ribbon as it was originally.
Once you did all the work to customize your Ribbon, you exported it via the Export feature, saving it to your firm’s server as a .xml file. From there, anyone in your firm who has access to the server can import that file to use your customized Ribbon themselves. (Note that doing so will cause them to lose any Ribbon settings they’ve customized on their own devices so it’s a good idea to let them know that in advance.)
And there you have it. More efficiency for you and your firm.
How to get started
To customize the Ribbon, right click it, choose Customize the Ribbon from the menu to bring up the Customize Tools dialog box, and then follow the steps outlined in this article.